


Here's what you'll need!
Foam to work on Core fibre Muffin coloured fibres
Felting Needles (sml & lge) Felt sheets Scissors and Ribbon

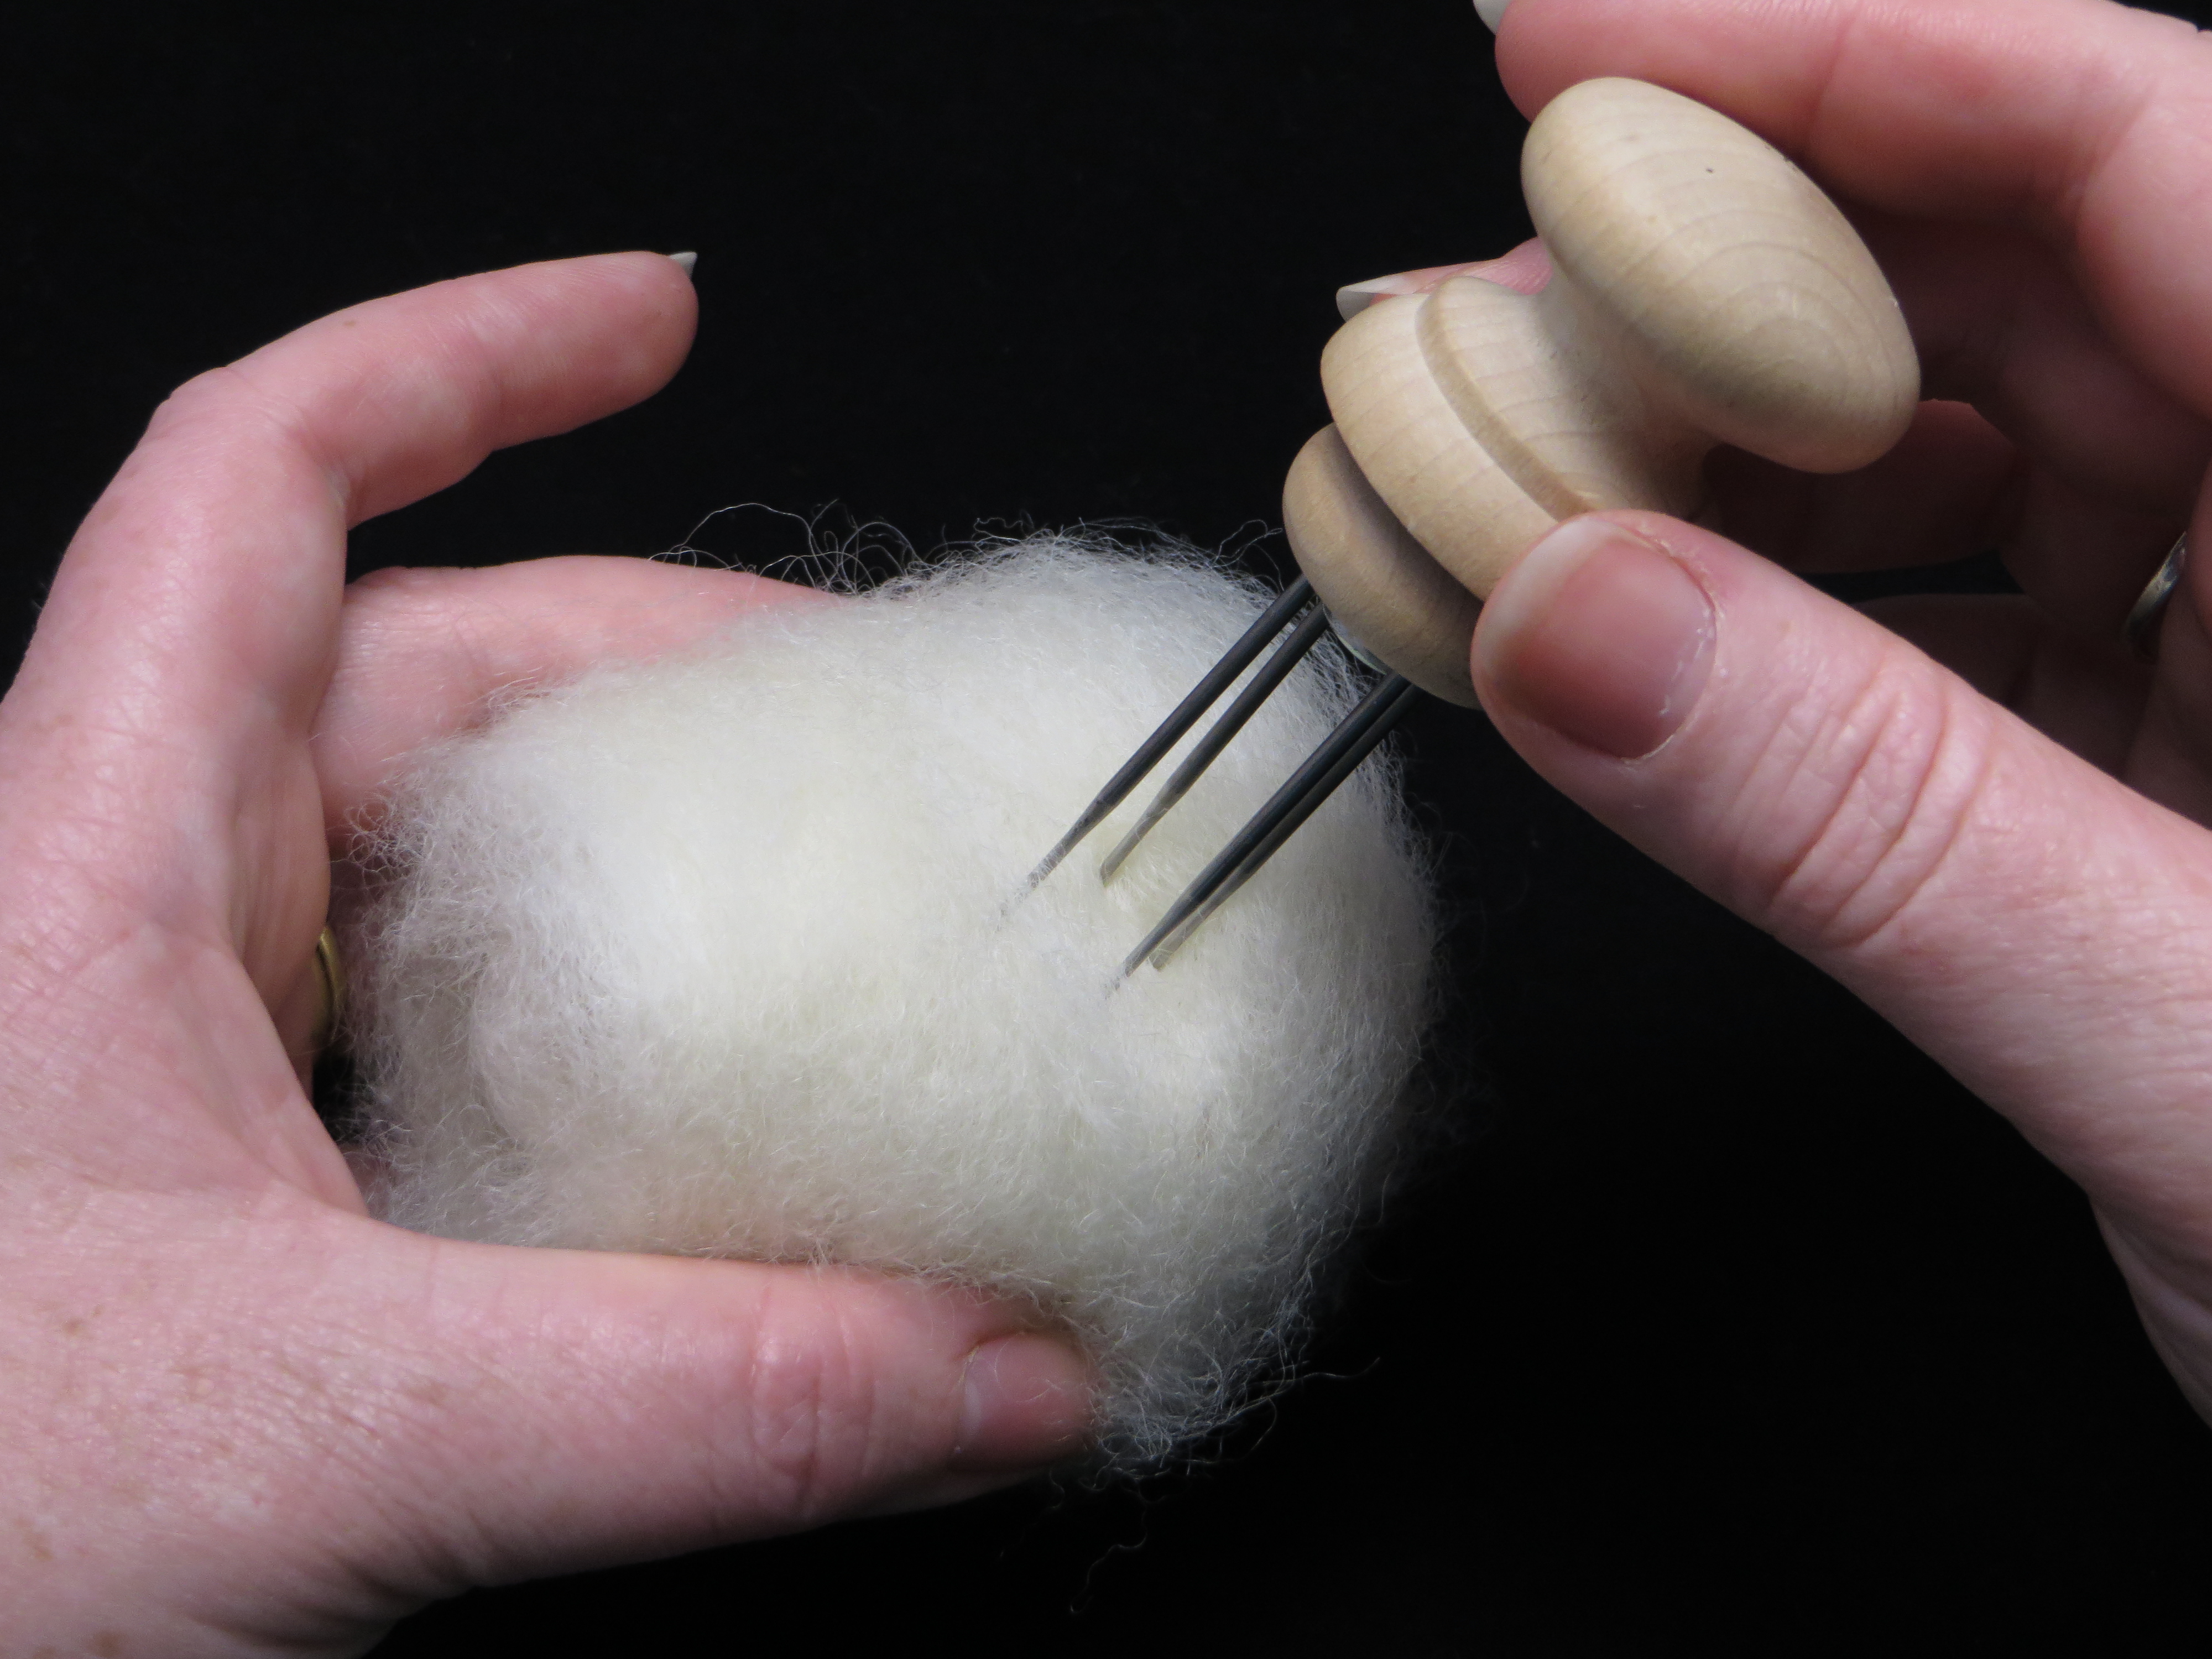
I like felting larger pieces like this one with a multi tool. You can either buy them or make your own. Let me know if you would like instructions on how to make yours but you can either use an oven bake clay, or just rubber band them together. 3 is usually a good number.


Time to start the colouring our muffin! So I've mixed the fibre I want to use for the cake colour, this is where you will decide if it's chocolate, vanilla or red velvet! Of course you can make it any colour at all and if you were my kids it would be green or purple!
Mix it well.

Here you can see me felting it with my multi tool again but you can use single needles at any time if that's what you have.
For this stage, make sure it's a large enough piece to cover the top of your cupcake and felt the surface, then flip and felt the other side.
Do this a couple of times before applying to your cake.

Here you can see my applying the colour to the top of the cake.
Start in the centre and work your way out to the sides. This way you can make sure that it is going to go far enough down the sides and add small patches of fibre if there are gaps etc.

Here you can see I have finished covering the top and bottom. I didn't bother with the middle as the next step will cover it!
You could get away with not doing the bottom too if you were actually more lazy than me, but I'm sure you're too fussy for that!
:)

Next you will take your sheet of felt and measure around the cupcake marking in how wide you will need this strip (so making a mark where the bottom of the cake is) and then taking the felt all the way around plus an extra inch or so over overlap, and mark that too. Overlap is needed as the strip will get shorter as you work around the base.
You can then cut your strip out using those markings.

Here I'm showing you where you will mark the bottom of the strip or if you are lazy like me you might just cut all the way around while you hold it in place.
You can see a little snip on the top edge which is where I marked the length.
If you want to be more precise you can always make this in paper first and use it as a template.

Next you will attach one end of the felt sheet to the cupcake.
Make sure you have lined this up with the bottom of the cake so that it finishes right at the edge.

Loosely holding the strip in place you will then make straight lines by going back and forth along the same line to create these little indents.
Do not hold the strip too tightly against the side of the cake or it will sit on the surface and not make a nice indent.
Do this all the way around until you reach the end.

Time for the icing!

Taking the fibre for your icing you will mix it and then felt it as you did for the previous covering. But this time go a little smaller so that your icing doesn't completely cover the top.


You can see I've left some of the cake visible under the icing, no point covering it all up! Work along the edge to define the shape and to make it look a bit more 3d.

You can exaggerate this more if you like and have the icing dribble right down onto the felted strip.

Now for that drizzle of toffee on the top.
There are many ways you can decorate the top of your cake and this is just one but I thought it looked pretty good.
Taking a small amount of fibre pull it out into a fine strip and then twist it to make it almost like yarn.

Here you can see I have laid it out in the pattern that I want to make.
I then start at one end and start felting.

Working along the fibre you can go back and forth till it's well attached.
Felt along the edges with your needle angled toward the loose fibre as you work along the sides of this final layer.

And it's all done!
I've just added a bow around the 'paper' casing and the pins in the top have little pearl beads on them which looks great on any style cupcake.
I hope you enjoy making this pincushion, have a go a some different styles.
You will find inspiration when you search online for cupcakes too I'm sure!
God bless and Happy Felting!
Liza Adams
No comments:
Post a Comment