|
| Felted Heart Brooch |
Welcome to my first free tutorial! In this short lesson I will assume you have some knowledge of needle felting and already possess the basic supplies. If you have any questions regarding what you need or want more tips do feel free to contact me on my facebook page
Visit me here!To create this brooch you will need:
💜 Felting needles in Large and small sizes
💜 Fibre in 2 colours (Merino or similar works best)
💜 Foam or similar surface to work on
💜 Small safety pin or Brooch pin
Taking
a small amount of fibre, perhaps enough to fit into your fist when closed, mix
well and then lightly roll into a loose ball.
Begin felting this on your foam surface with your large needle. Keep poking and turning as you go until it
begins to hold together.
This
is a good way to start a very sculpted project, because the fibres are a little
firmer and already beginning to hold a shape, we can then sculpt it as we wish.
For
these instructions I am working on making an oval but you could make any shape
you like. Here I'm using a multi tool that holds up to 4 needles but you can do this just as well with a single needle, it just takes longer.
Begin to flatten this ‘ball’ out by felting on one side, then flipping
over and felting the other side.
To make a nice edge on your brooch, hold it between your fingers and felt
around the sides, needle going directly into the middle and between your
fingers.
This can be a bit scary as you are likely to feel the needle or even get
poked but working around the edge this way you can create any shape and get a
nice even finish.
Keep felting until you are happy with the shape, size and surface.
For
this brooch I’ve just done a simple heart.
I used two colours of merino fibre and hand mixed them together to get
the blend I wanted. This is really
useful if you don’t have a lot of fibre, or if you need a specific colour for a
project.
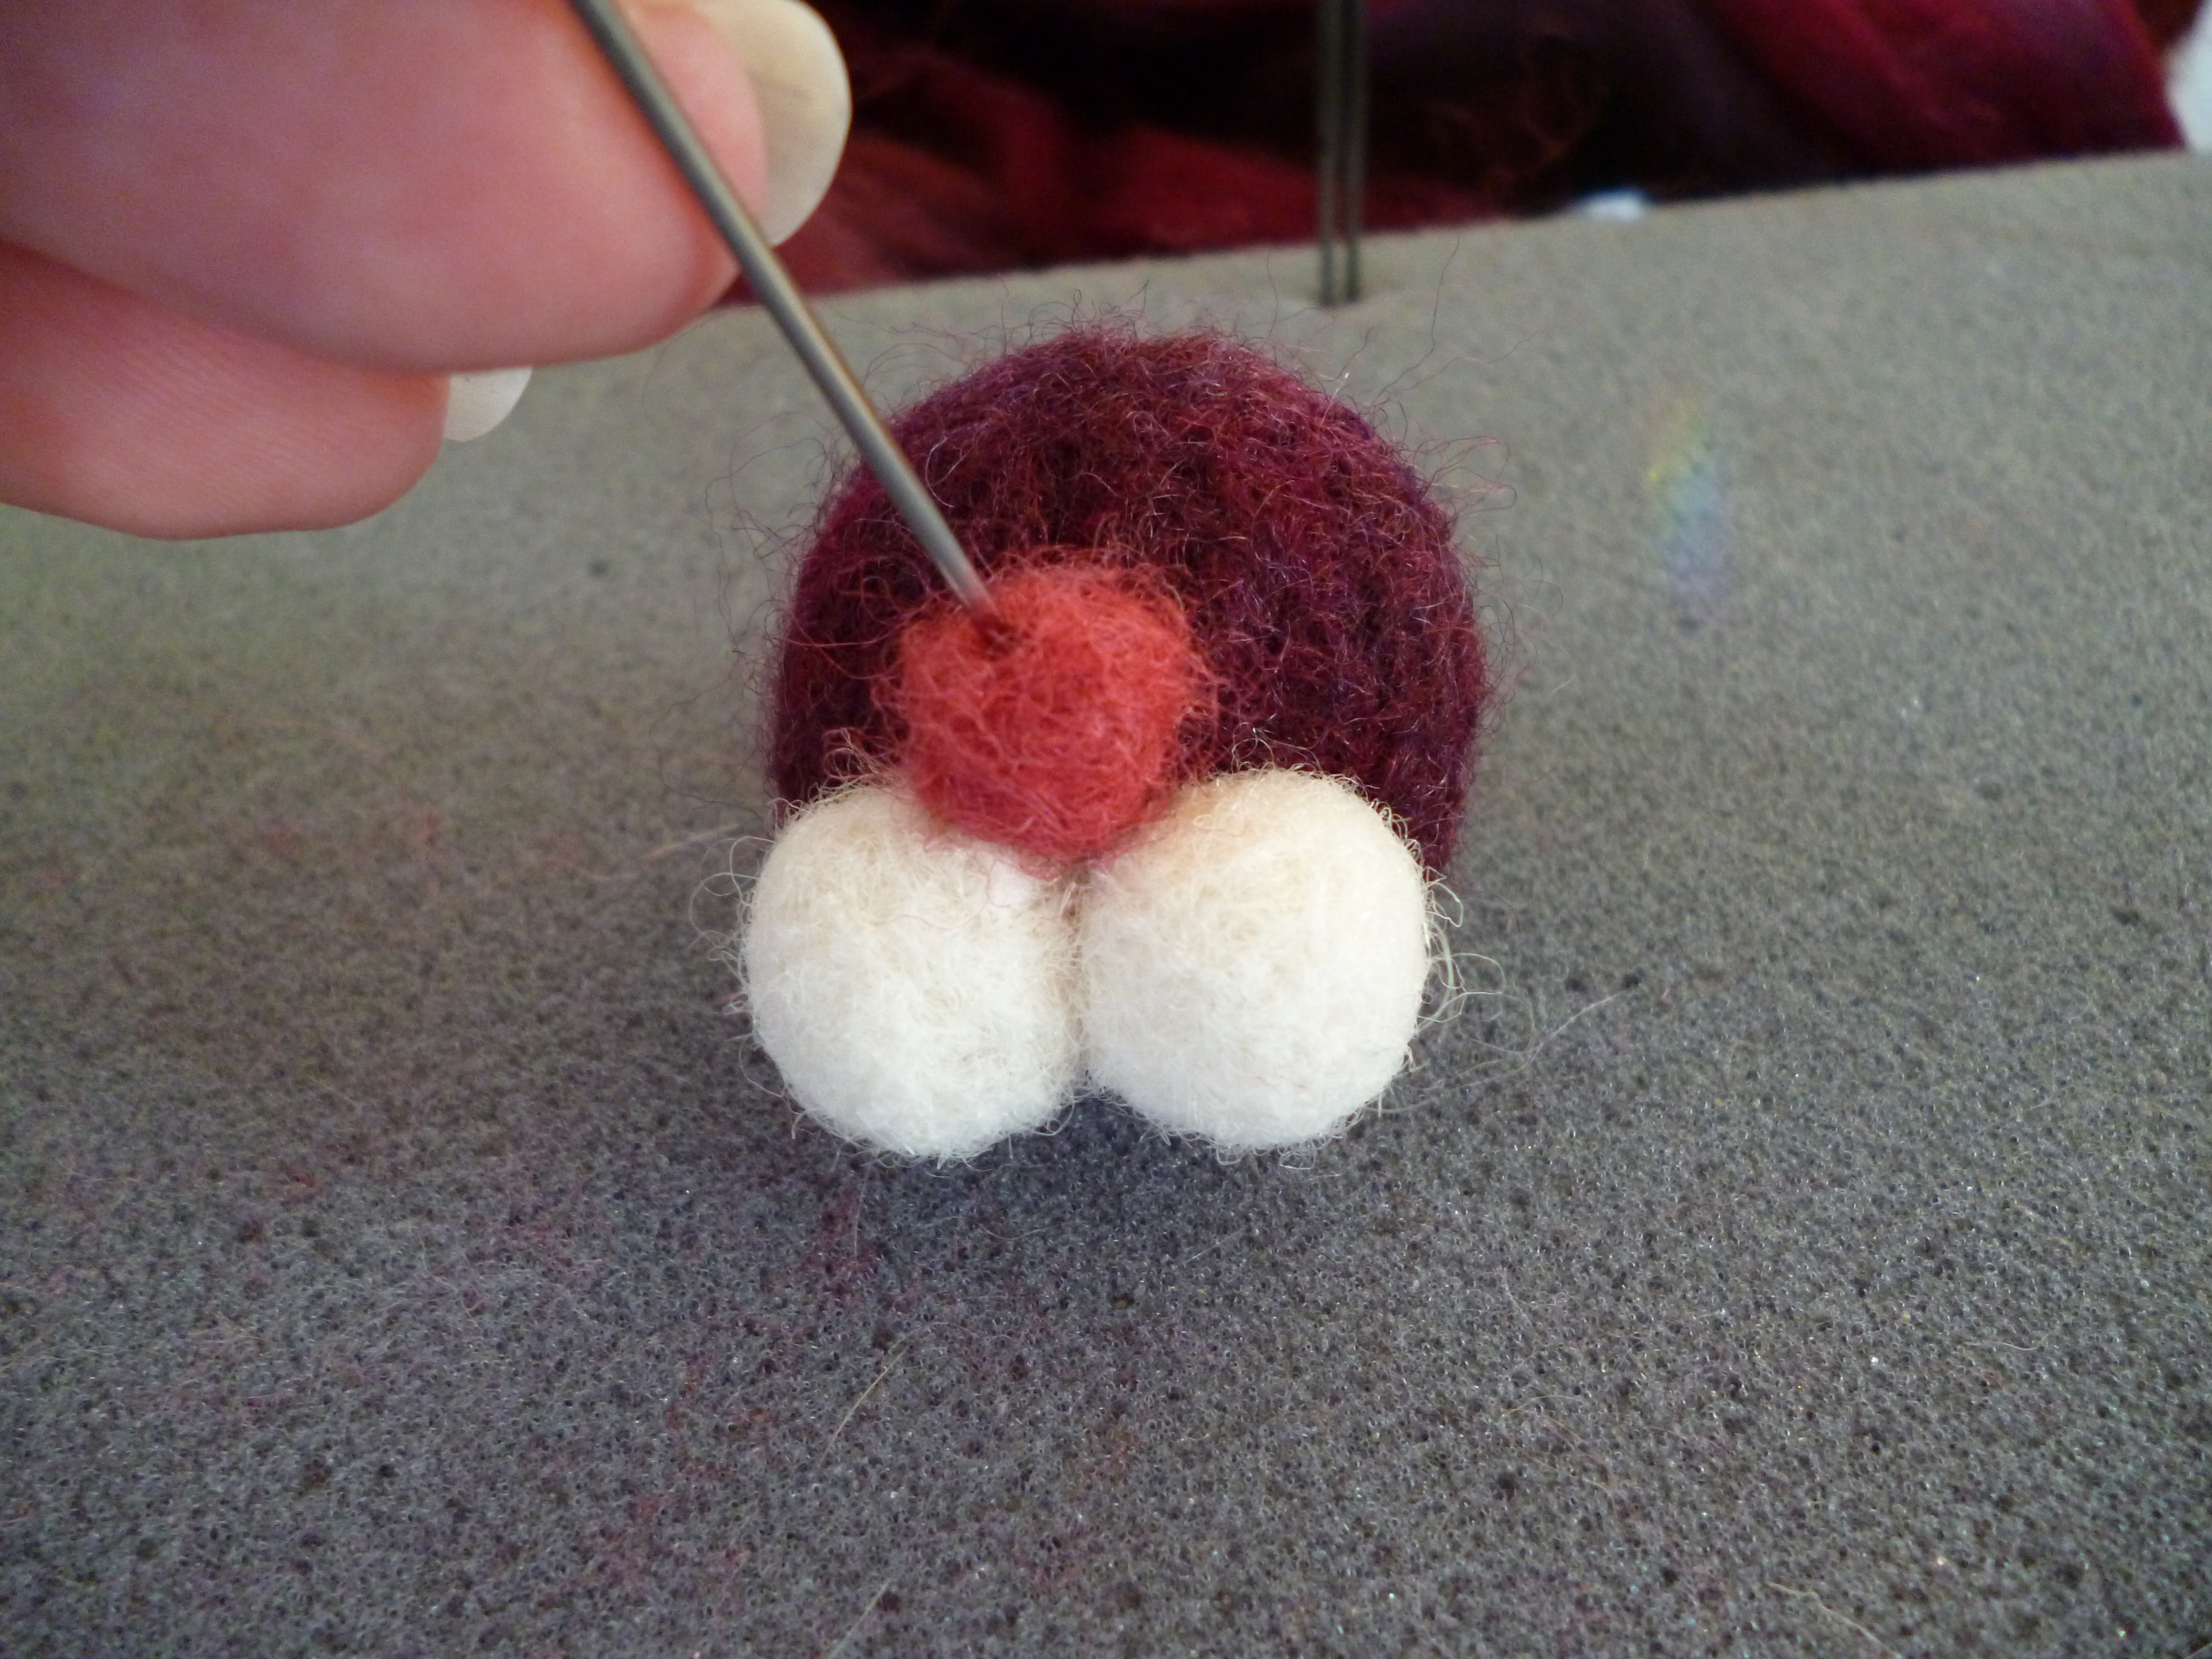
Just mix and rub between your fingers to get them nicely blended. Then felt into a soft ball so we can begin to sculpt the shape.To
make the heart shape I have pinched the fibre between my fingers and felted
along to make a side, then turned over and made another side creating the
bottom point of the heart.
To
make the top just work the needle down into the fibre exactly where you want
the top of the heart to be, use the finest needle and just felt softly to coax
it into shape.
Check
the fit and then you can begin felting your decoration onto the brooch,
remember to start in the middle working outward
Then work along the edges to
form nice, defined lines and make your work stand out.
Keep
sculpting all over with your fine needle, not poking too deeply as in this
smaller piece it will cause dents or holes that are hard to make disappear.
You
can see that for the heart I had to work down into the crease at the top of the
heart to keep that nice shape and make sure it didn’t stop looking like heart.
How are you doing? Looking the way you imagined? Don't despair if it's not, every piece I make turns out different from the last, it's all learning and you're still having fun. I do find that often people will love something I made that I'm not happy with, we all have different tastes and abilities!
To finish we will just sew on the brooch back or
safety pin. This is easily done as you
normally would and you can use knots for this as they won’t be seen on the
back.Just
make sure you don’t take your thread through to the front and that your pin is
hidden and sewn on securely.
I hope you really enjoyed making this first project with me. I hope to post more over the next few months so do pop back to see what's new. Don't forget to find me on facebook especially if you want to ask any questions!