

Have you been trying to needle felt some cute bunnies but just can't get those cheeky cheeks right? Here's a quite little 'how to' for you!

After you've felted the ball for his head, pull and mix the fibre for both cheeks. Once mixed split into two balls and work back and forth, felting them down to the same size.

Here I've shown you how much the ball has shrunk as I've felted to give you an idea how much fibre to use for the cheeks. It does shrink down a lot. Don't felt them too hard though, just firm.

To attach the balls hold them both in place and 'tack' them on with a few deep pokes to check you are happy with placement. If they look ok carry on. Work slowly

I'm happy with the placement so change down to a finer needle to keep working the cheeks until they are firmer and well attached. As you work, keep the needle on the angle above, like you are felting one ball into the other. This way you won't end up with a gap between them.
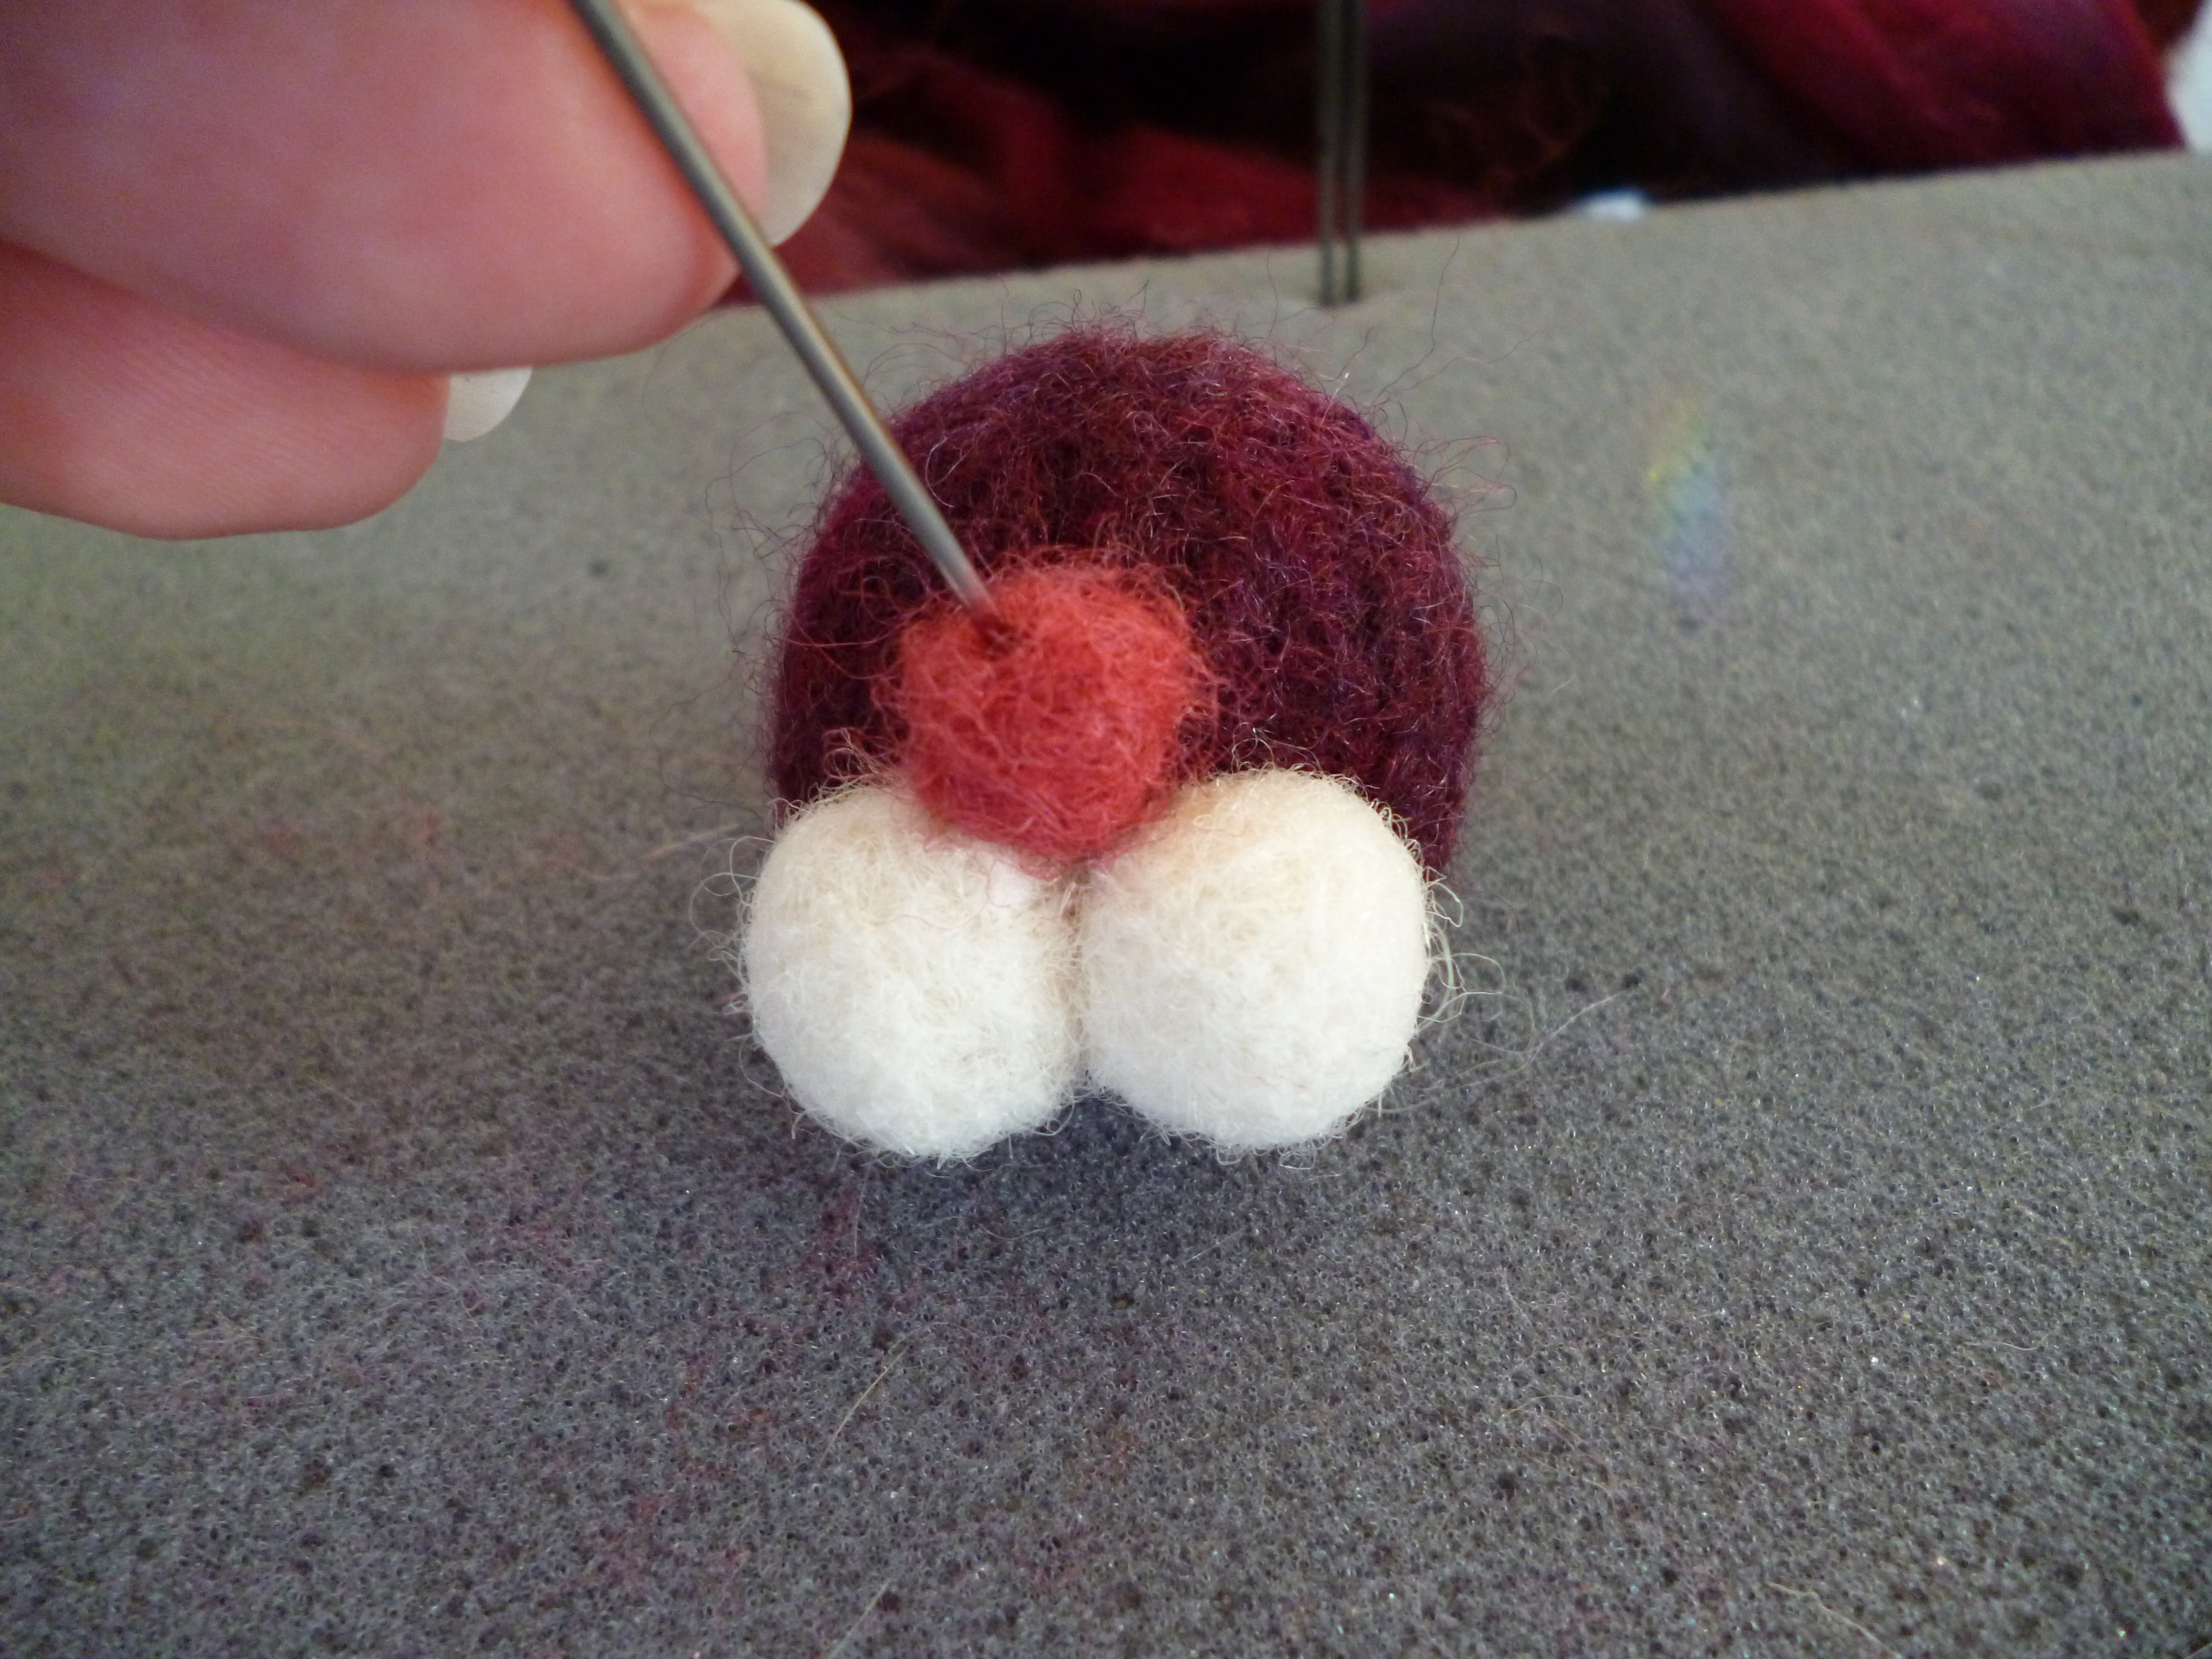
Want to needle a nose too? Just take a smaller amount of fibre, felt into a firm ball and then attach, poking downward so that it sits snugly on the cheeks with no gaps.

I just love the way these turn out, they are also great for other animals like cats and dogs!
I hope you enjoyed this quick 'how to'. Stay tuned for more and feel free to make a request if you need help with anything.
You can also join our subscriber group over on facebook at just $10usd a month. Live classes, and lots of fun. Click here to visit my fb page for more info.
No comments:
Post a Comment